

Preview window
The scene preview displays the composited output of the active scene. Enable it by clicking the yellow eye icon next to the scene name. The preview consumes GPU, so it auto-disables after a configurable inactivity timeout — leaving target output fully running.
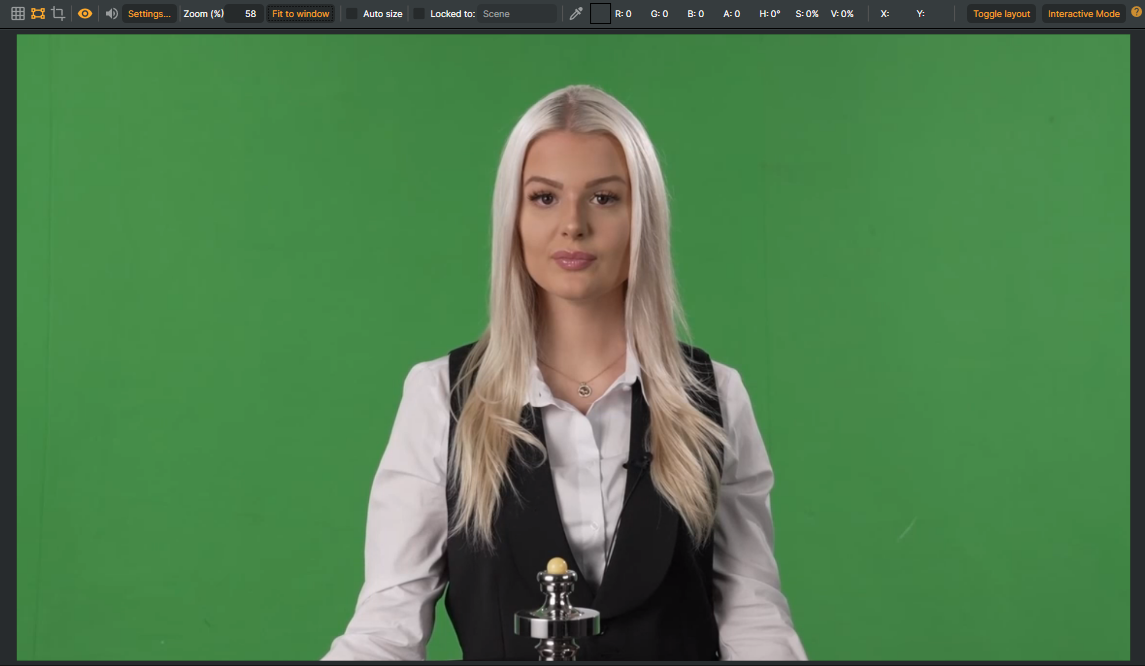
Navigation
| Action | Shortcut |
|---|---|
| Pan | Press and hold the mouse wheel, or Ctrl + Space |
| Zoom | Mouse wheel, Ctrl + + / Ctrl + -, or use the zoom input field |
| Fit content | Ctrl + F, or click the Fit to window button |
| Play / Pause | Ctrl + P |

Tip
Use the mouse scroll wheel to zoom in / out anywhere in the preview window.
Moving, resizing, and rotating layers
The selected layer (the one with the yellow outline) can be manipulated directly in the preview:
| Action | How |
|---|---|
| Move | Click and drag the layer's body. The cursor changes to a four-way arrow. |
| Resize | Drag any of the four corner handles. |
| Resize with locked aspect ratio | Hold Shift while dragging a corner handle. |
| Nudge position | Select the layer in the layer list and press the arrow keys (one pixel per press). |
| Rotate | Set the Rotation value in the layer list — type a number, or left-click and drag horizontally to scrub. Rotation is degree-based and pivots around the layer's anchor point. |
Layers with the Lock icon enabled cannot be moved or resized in the preview; unlock them in the layer list to manipulate them.
For preset positioning — centring, edge-aligning, fitting to the scene, resetting scale — use the right-click context menu below.
Snap to alignment guides
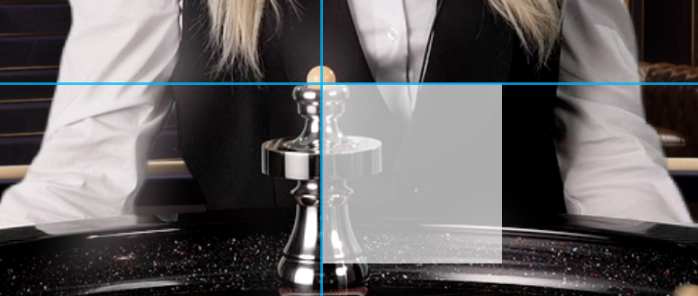
While dragging a layer, Composer draws cyan guide lines whenever an edge or the centre of the dragged layer lines up with:
- the scene edges (left, right, top, bottom),
- the scene centre (horizontal or vertical), or
- another layer's edges or centre.
The dragged layer snaps to the guide so the alignment is pixel-perfect. Snapping kicks in when the layer is within roughly three pixels of an alignment target; release the mouse and the guides disappear.
Limitations and toggles
- Snapping applies to move only. Resizing and rotating are not affected.
- Both behaviours — drawing the guides and snapping to them — are independently togglable under View → Guidelines: turn off Snap to guidelines if you want the guides as a visual indicator without the magnetic pull, or turn off Show guidelines to drag freely with no guides at all. Both default to on.
Right-click context menu
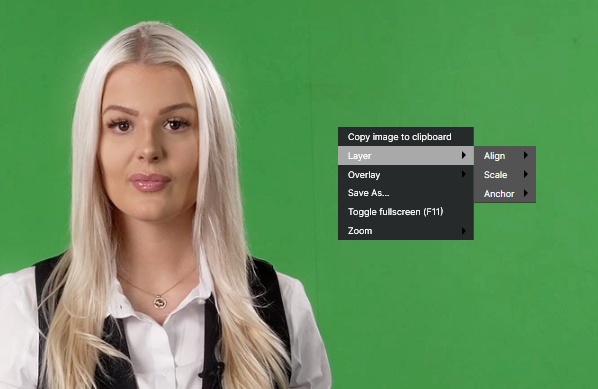
Available actions:
- Copy image to clipboard — copies the current preview frame so you can paste it into another application.
- Layer — actions on the selected layer:
- Align — jumps the layer to a position in the scene:
- Center
- Left
- Right
- Top
- Bottom
- Scale:
- Fit (
Ctrl + Shift + F) — resizes the layer to fill the scene while keeping its aspect ratio (no stretching). - Reset — sets the layer back to its original size (100% scale).
- Fit (
- Anchor:
- Center — moves the layer's anchor point (the pivot it rotates and scales around) to the middle of the layer.
- Align — jumps the layer to a position in the scene:
- Overlay — displays an alignment grid or center cross over the preview as a positioning reference:
- No overlay
- Center cross
- Grid 2x2
- Grid 3x3
- Grid 4x4
- Grid 6x6
- Grid 12x12
- Save As... — saves the current preview frame as an image file on disk.
- Toggle fullscreen (F11) — enlarges the preview to fill the entire screen.
- Zoom:
- Fit to window — resizes the preview so the whole scene fits in the window (same as
Ctrl + F). - Zoom in — magnifies the preview one step (same as
Ctrl + +). - Zoom out — shrinks the preview one step (same as
Ctrl + -).
- Fit to window — resizes the preview so the whole scene fits in the window (same as
Scene view tools
The preview toolbar exposes:
Grid background — checker-pattern overlay for visualising transparency.
Layer handles — toggle the visibility of the corner resize handles around the selected layer.
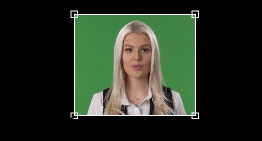
Region of Interest — draw a region on the preview to crop output to that area:
Video / audio preview toggles — independent enables for the visual preview and audio preview.
Zoom controls — direct zoom-percent input.
Color picker — sample any pixel and see its values.
Position display — the live cursor's
X, Ycoordinates over the source frame.
Alignment Grid Overlay
An alignment grid draws guide lines to help you align and position elements in the scene. Composer provides two ways to display one:
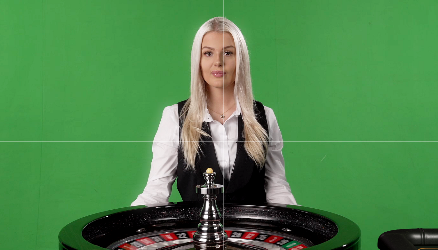
- Preview overlay — right-click the preview and pick Overlay to draw a center cross or grid (2x2 up to 12x12) over the entire preview. Scene-wide, preview-only — it never appears in the rendered output — and not saved with the project. Desktop only.
- Alignment Grid operator — attach to a layer to pin a crosshair or grid (4x4 / 8x8) to that layer, with configurable colour, opacity, position, and line thickness. Rendered into the video output and saved with the project. Cross-platform: available in Desktop and Runtime.
Typical uses: rule-of-thirds composition, centring logos and lower-thirds, checking safe areas, and keeping element positions consistent across scenes.
Color picker
Pick a pixel and the picker shows both RGBA and HSV:

| Field | Meaning |
|---|---|
R |
Red, 0–255 |
G |
Green, 0–255 |
B |
Blue, 0–255 |
A |
Alpha, 0–255 |
H |
Hue, in degrees |
S |
Saturation, % |
V |
Value (lightness), % |
For more on colour models, see Color Models: RGB, HSV, HSL.
Toggle layout
The layout toggle button switches between Compositor and Audio Mixer layouts inline (same as Ctrl + M):

Interactive mode
When Interactive mode is enabled, layer handles disable and the right-click context menu becomes inaccessible — selected layers cannot be moved or modified through the preview. Useful for kiosk-mode demonstrations or live-show panels where accidental edits would be a problem.

Saving snapshots
Alt + P saves a snapshot of the active scene's output. Snapshots land in the Snapshots folder next to the application, named <HOSTNAME>_<DATETIME>.png.