

How-to videos
Short, narrated walkthroughs of common Vindral Composer workflows. Each video focuses on one task — setting up a scene, keying out a background, synchronising audio — and pairs the recording with the Composer components it uses, so you can jump straight to the matching reference pages afterwards.
Use the search box (Ctrl+K) to find a video by title, topic, or the component it demonstrates. Videos are grouped into series below.
Audio
| Video | About | |
|---|---|---|
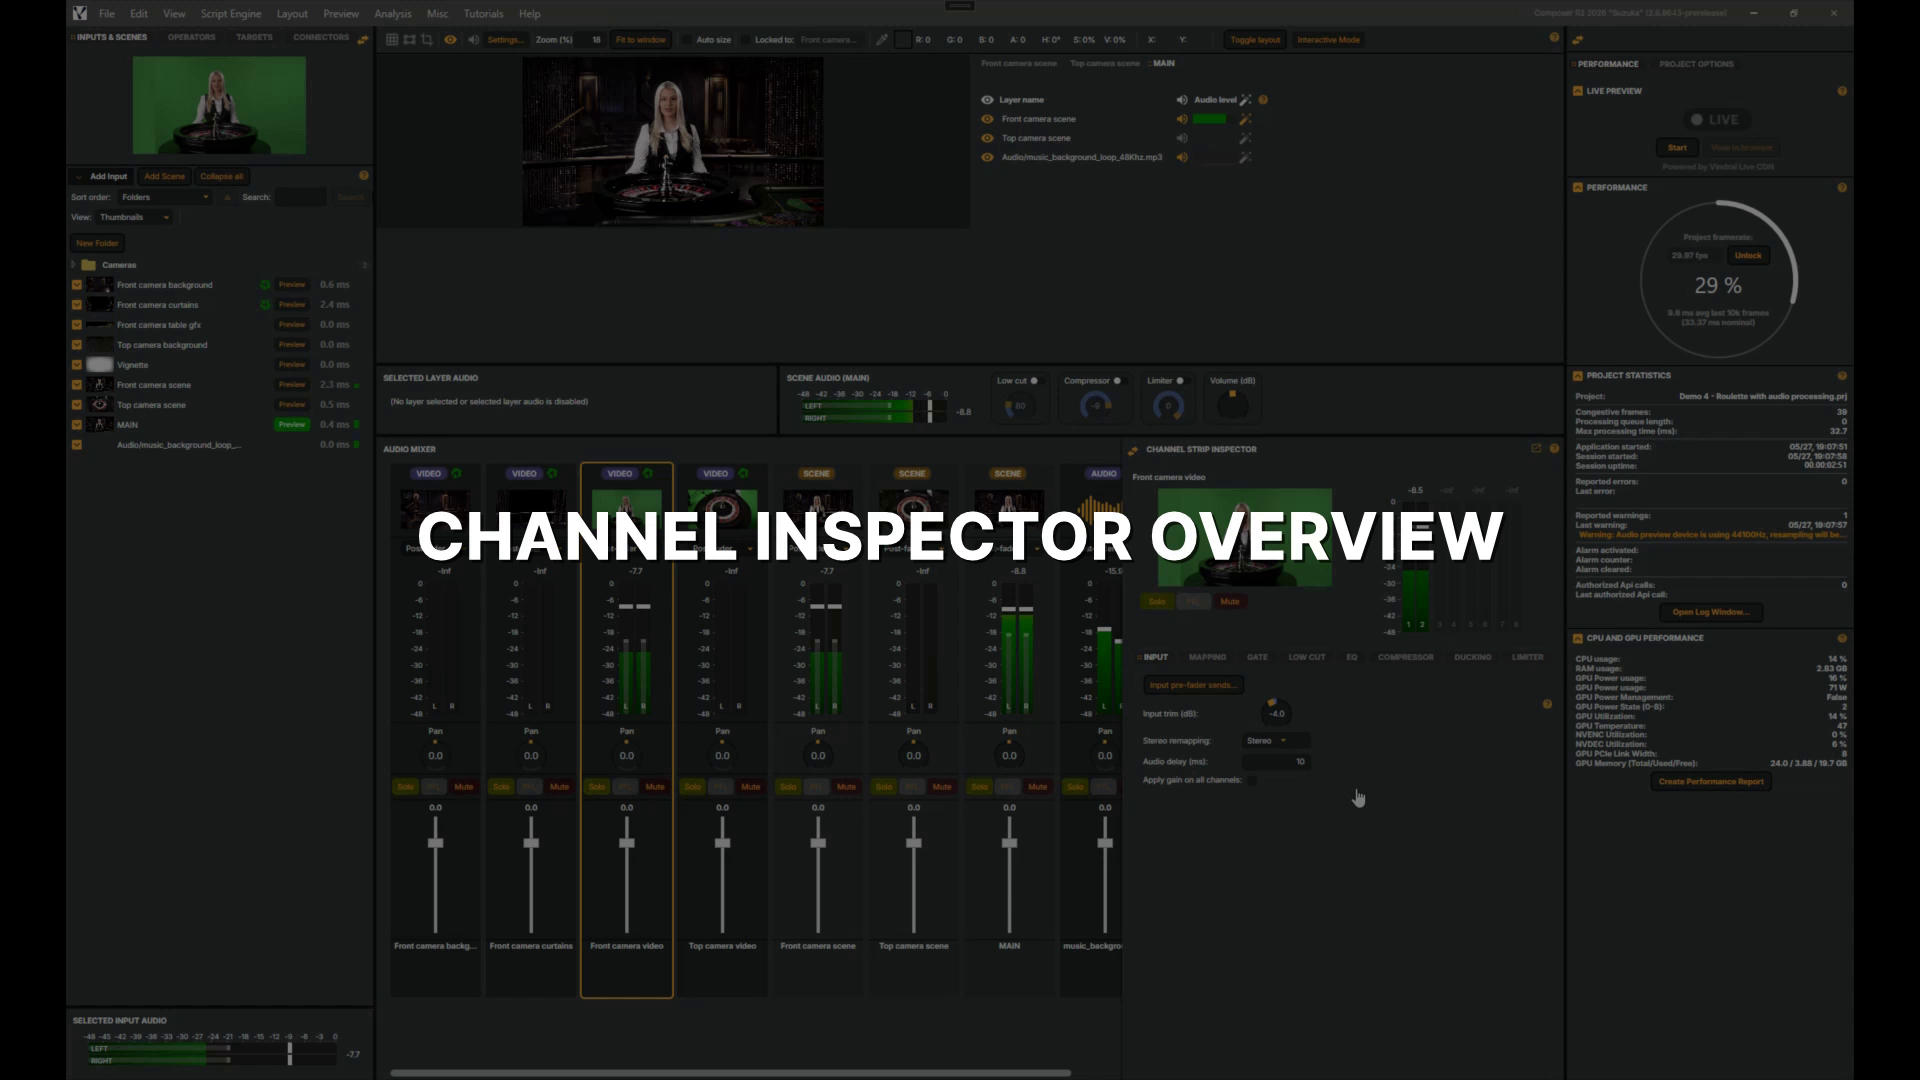 |
Channel Inspector overview | In this tour of the Audio Mixer's Channel Inspector, you'll step through its Mapping, Gate, Low Cut, EQ, Compressor, Ducking and Limiter tabs to see how each shapes a channel. 2 min 2 sec |
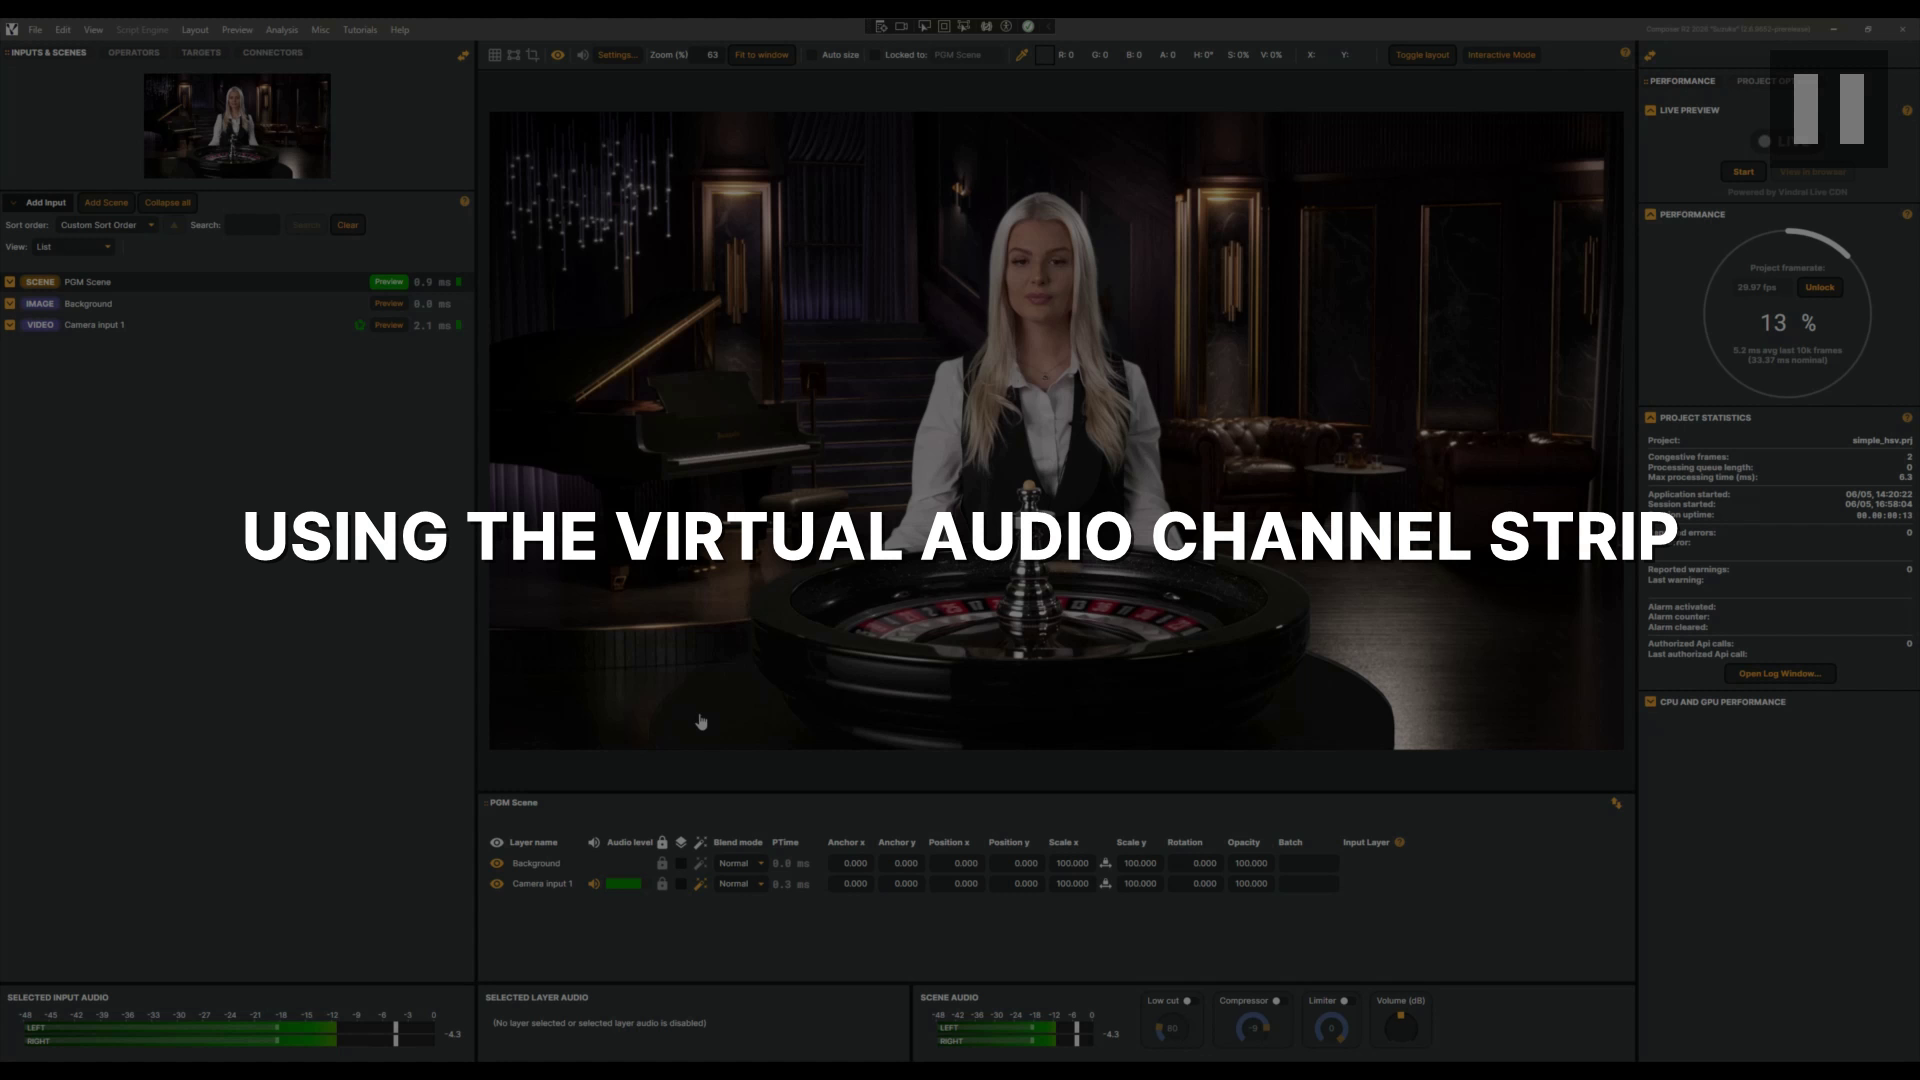 |
Virtual audio channel strip | In this tutorial, you'll learn how to use an Audio Channel Strip as a virtual mix bus to blend background music with presenter audio in your project. 1 min 56 sec |
Connectors
| Video | About | |
|---|---|---|
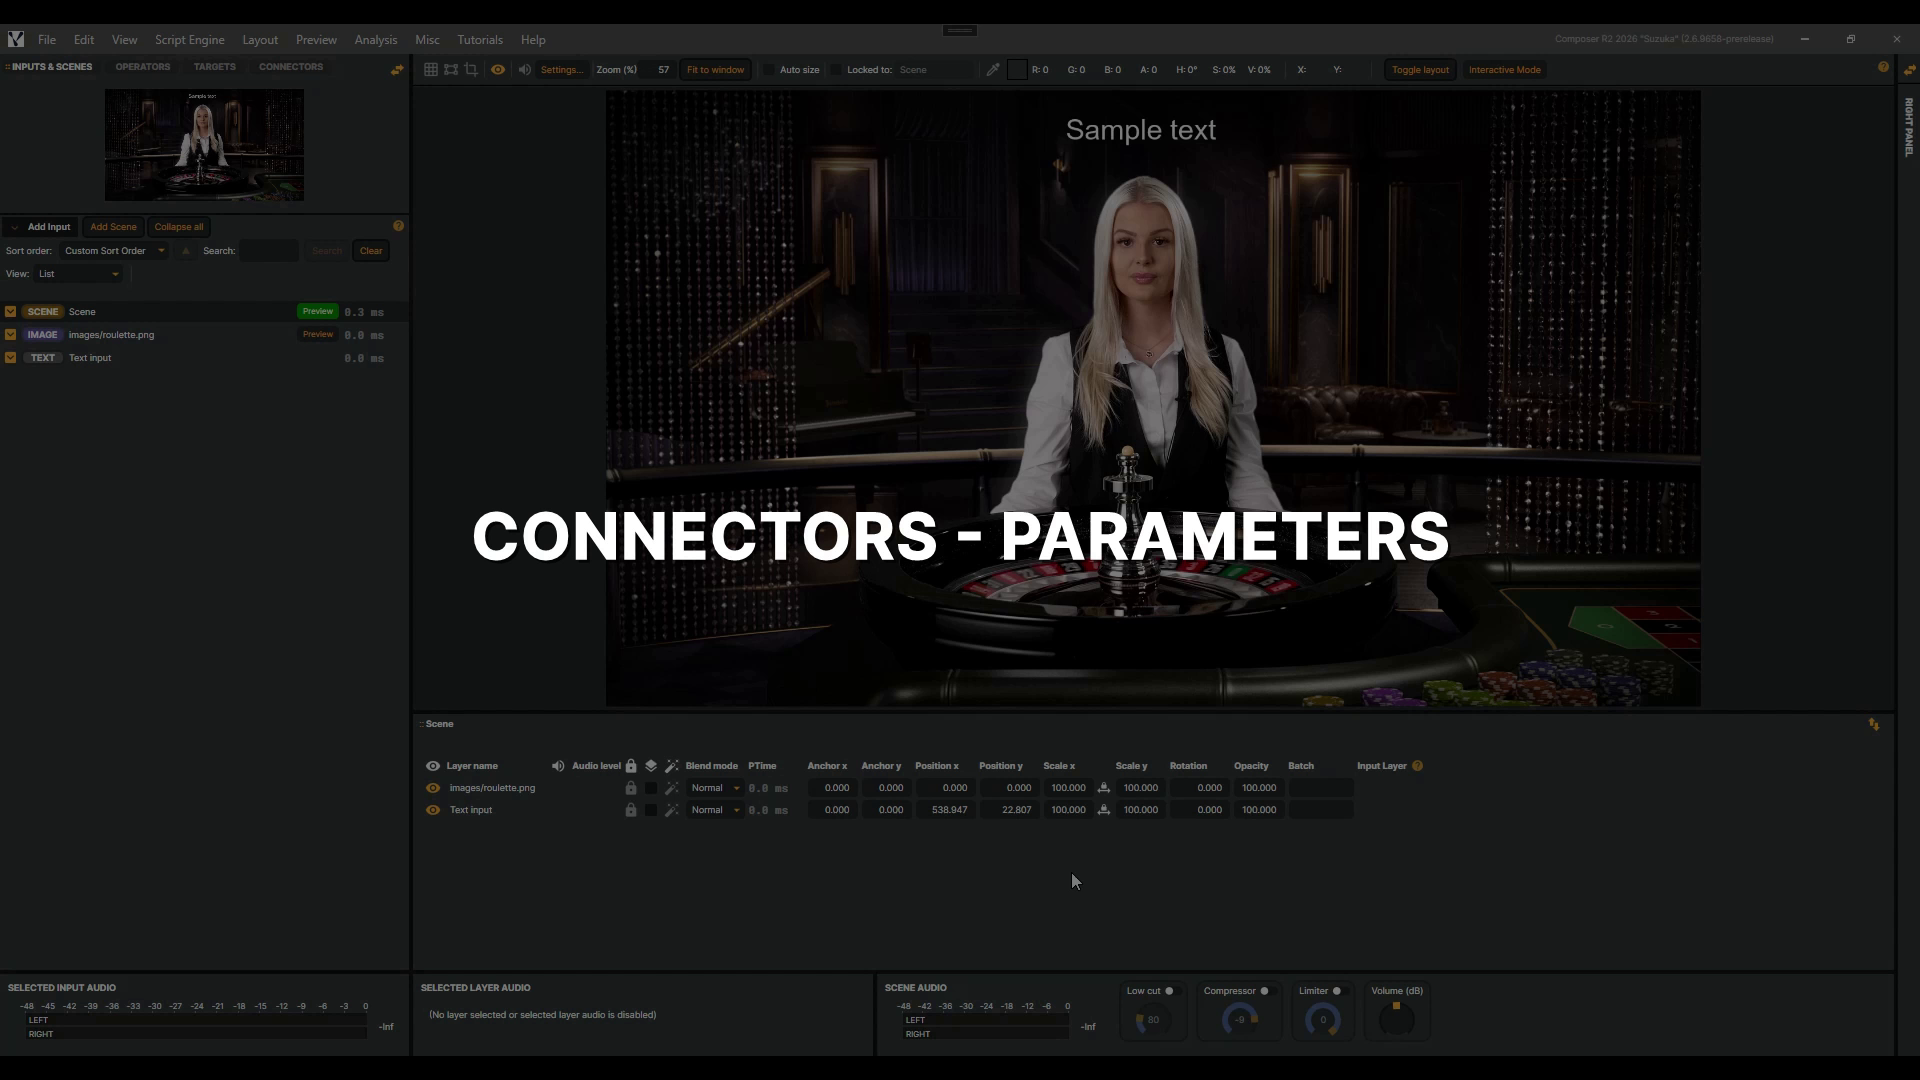 |
Connectors - Parameters | In this follow-up to the Connectors introduction, you'll learn how to use parameters to make a single Connector dynamic. Parameters can drive properties on any input, operator, or target — and here you'll use them to update a Text input, so one trigger can display any message your system sends. 3 min 10 sec |
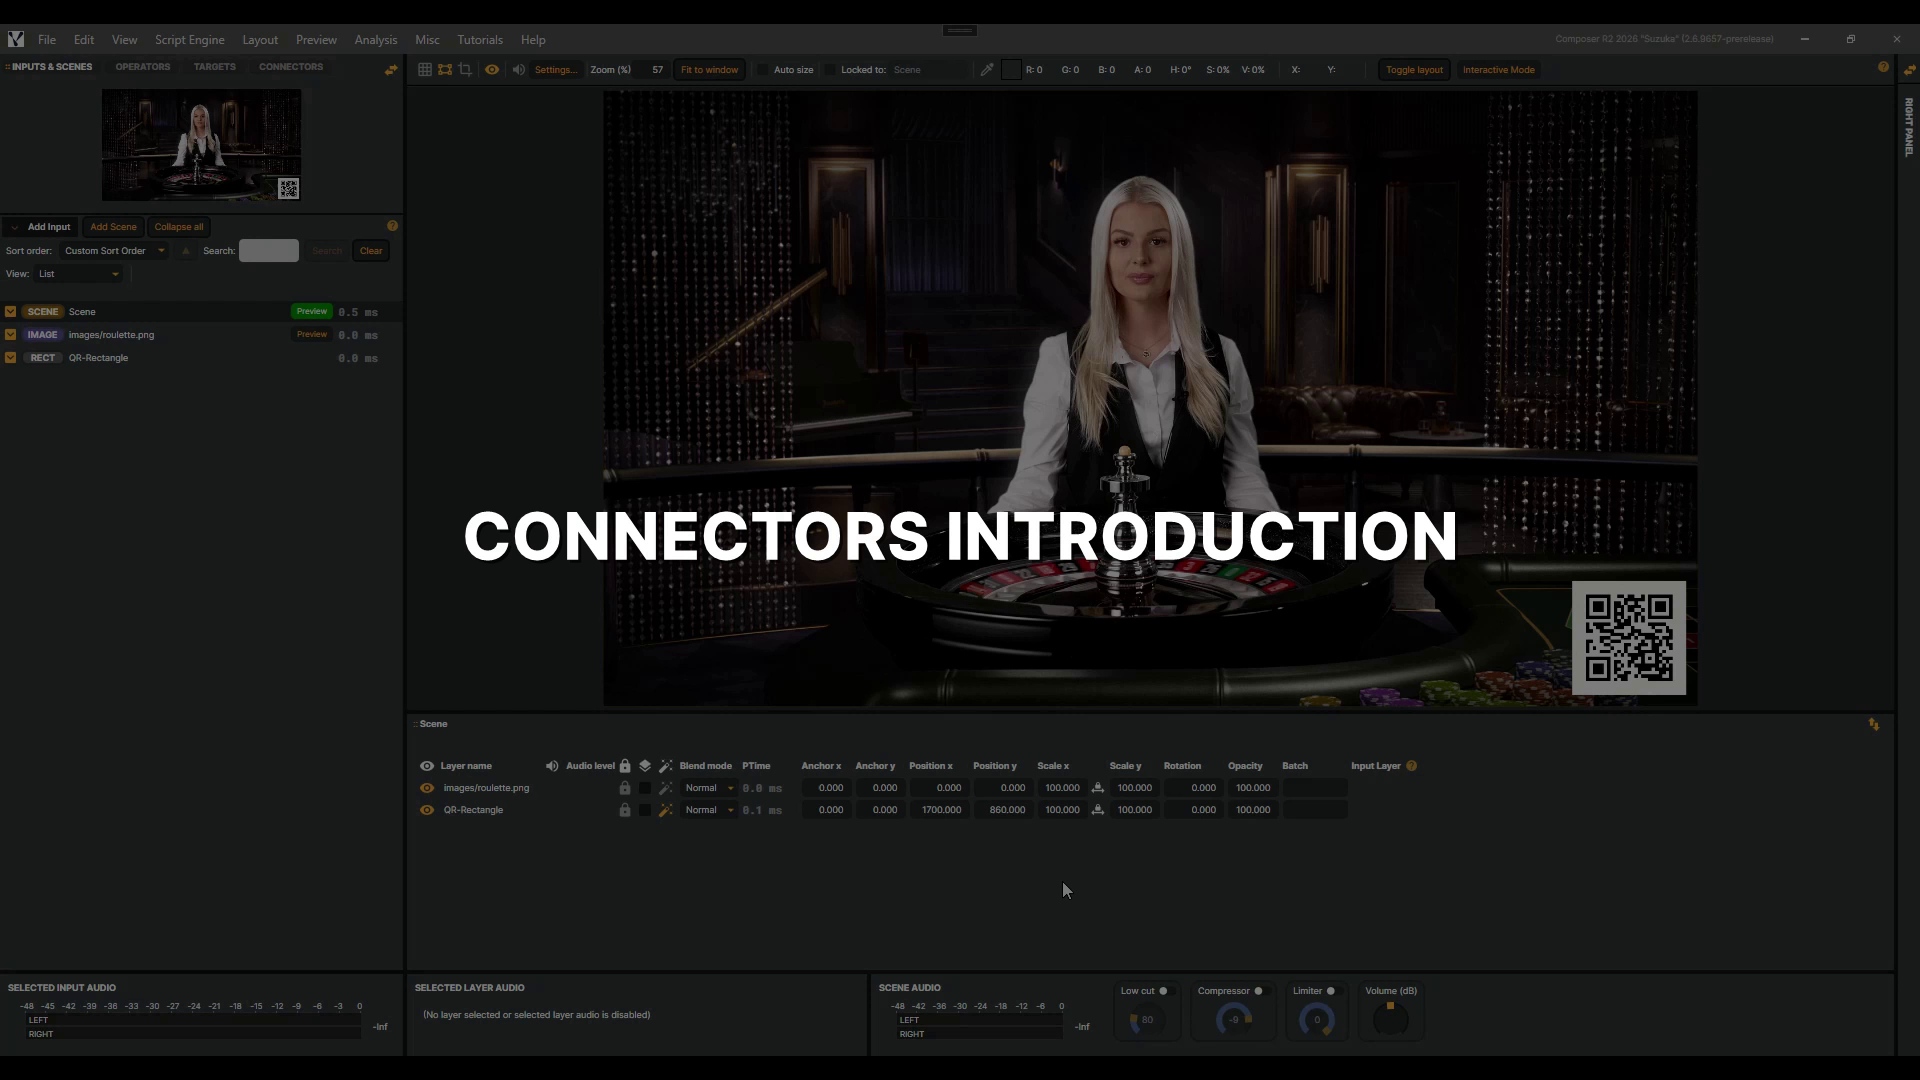 |
Connectors Introduction | In this tutorial, you'll discover Connectors — Composer's tool for turning multi-step production tasks into a single, repeatable trigger — and build two from scratch that animate a QR code smoothly on and off a live scene. 4 min 33 sec |
Inputs
| Video | About | |
|---|---|---|
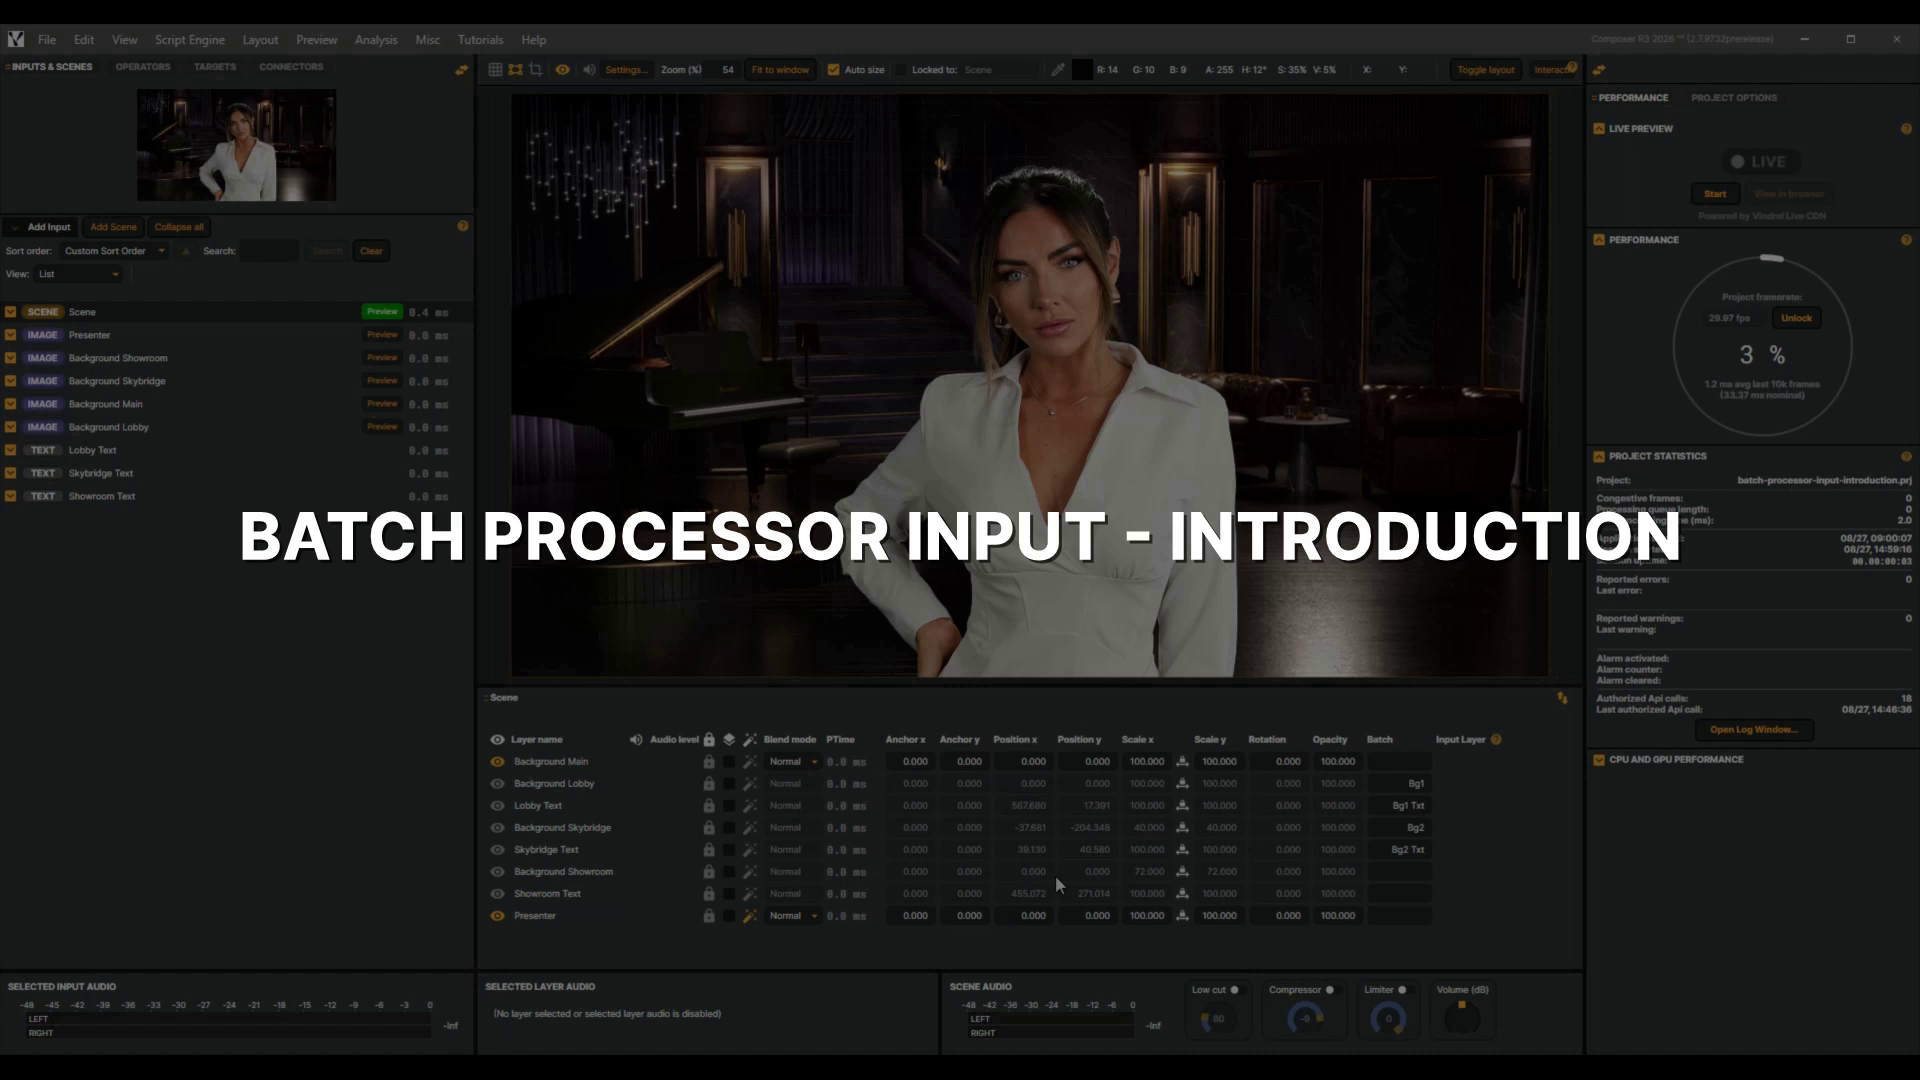 |
Batch Processor Input - Introduction | Switching a whole set of graphics usually means clicking your way down the layer list, one eye icon at a time. The Batch Processor does it with a single name. You give each layer a Batch name of your own choosing. Then one command moves every layer carrying that name. In this video we switch the background behind a presenter. First by hand. Then by command. Then we clear all three backgrounds with a single name, and the presenter never moves. 5 min 37 sec |
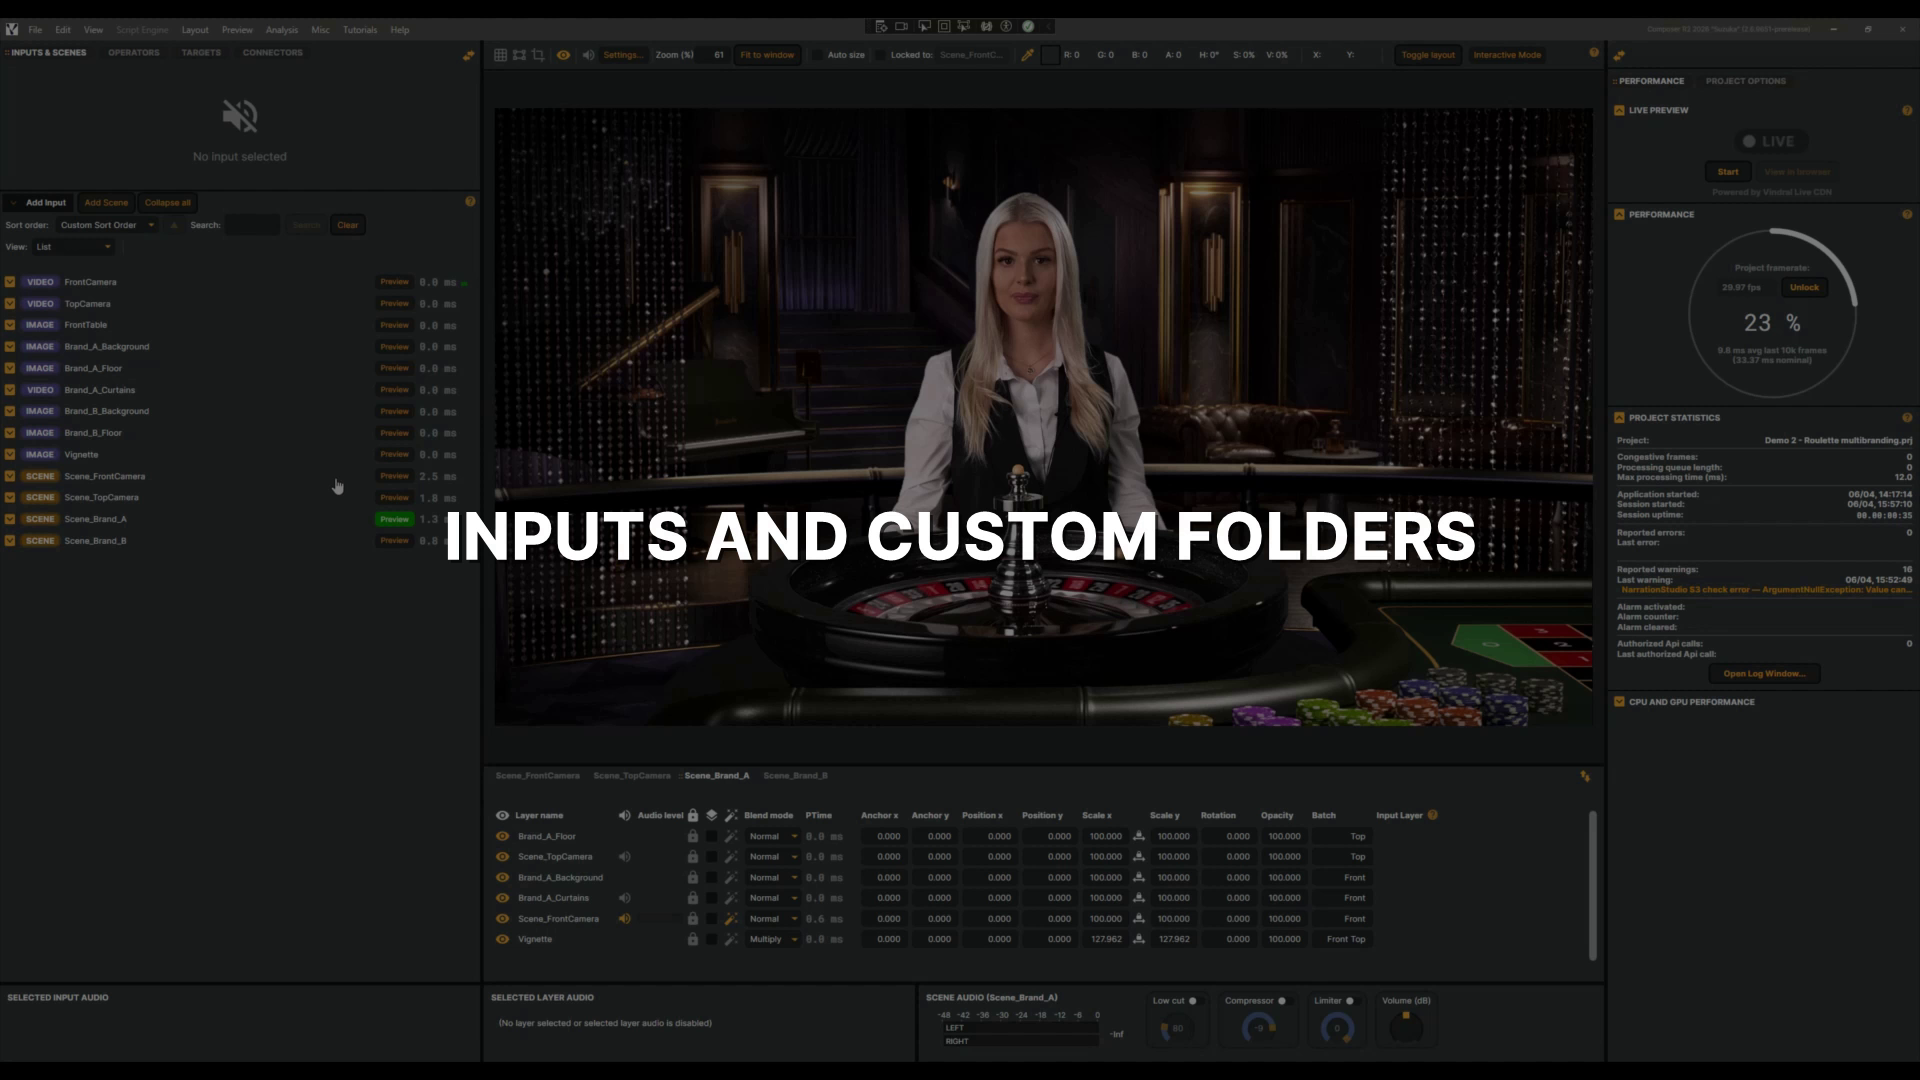 |
Inputs and custom folders introduction | In this tutorial, you'll learn how to organise your inputs using custom folders — grouping cameras, images, and scenes to keep your input list tidy and easy to navigate. 1 min 32 sec |
 |
Inputs basics | Every project starts with an input. It's where your video and audio come from — and in Composer, almost anything can be a source. A camera across the studio, a live stream from the other side of the world, a clip from your drive, a piece of music, even text and graphics you type in on the spot. Each one is a little different, but they all follow the same simple idea: you pick an input and give it a source. You'll see exactly how, by adding two to your scene — a Video File Input playing a clip and a Text input putting words on screen. It's the perfect place to start building your own projects. For the complete list of inputs and more detail, check the documentation. 6 min 36 sec |
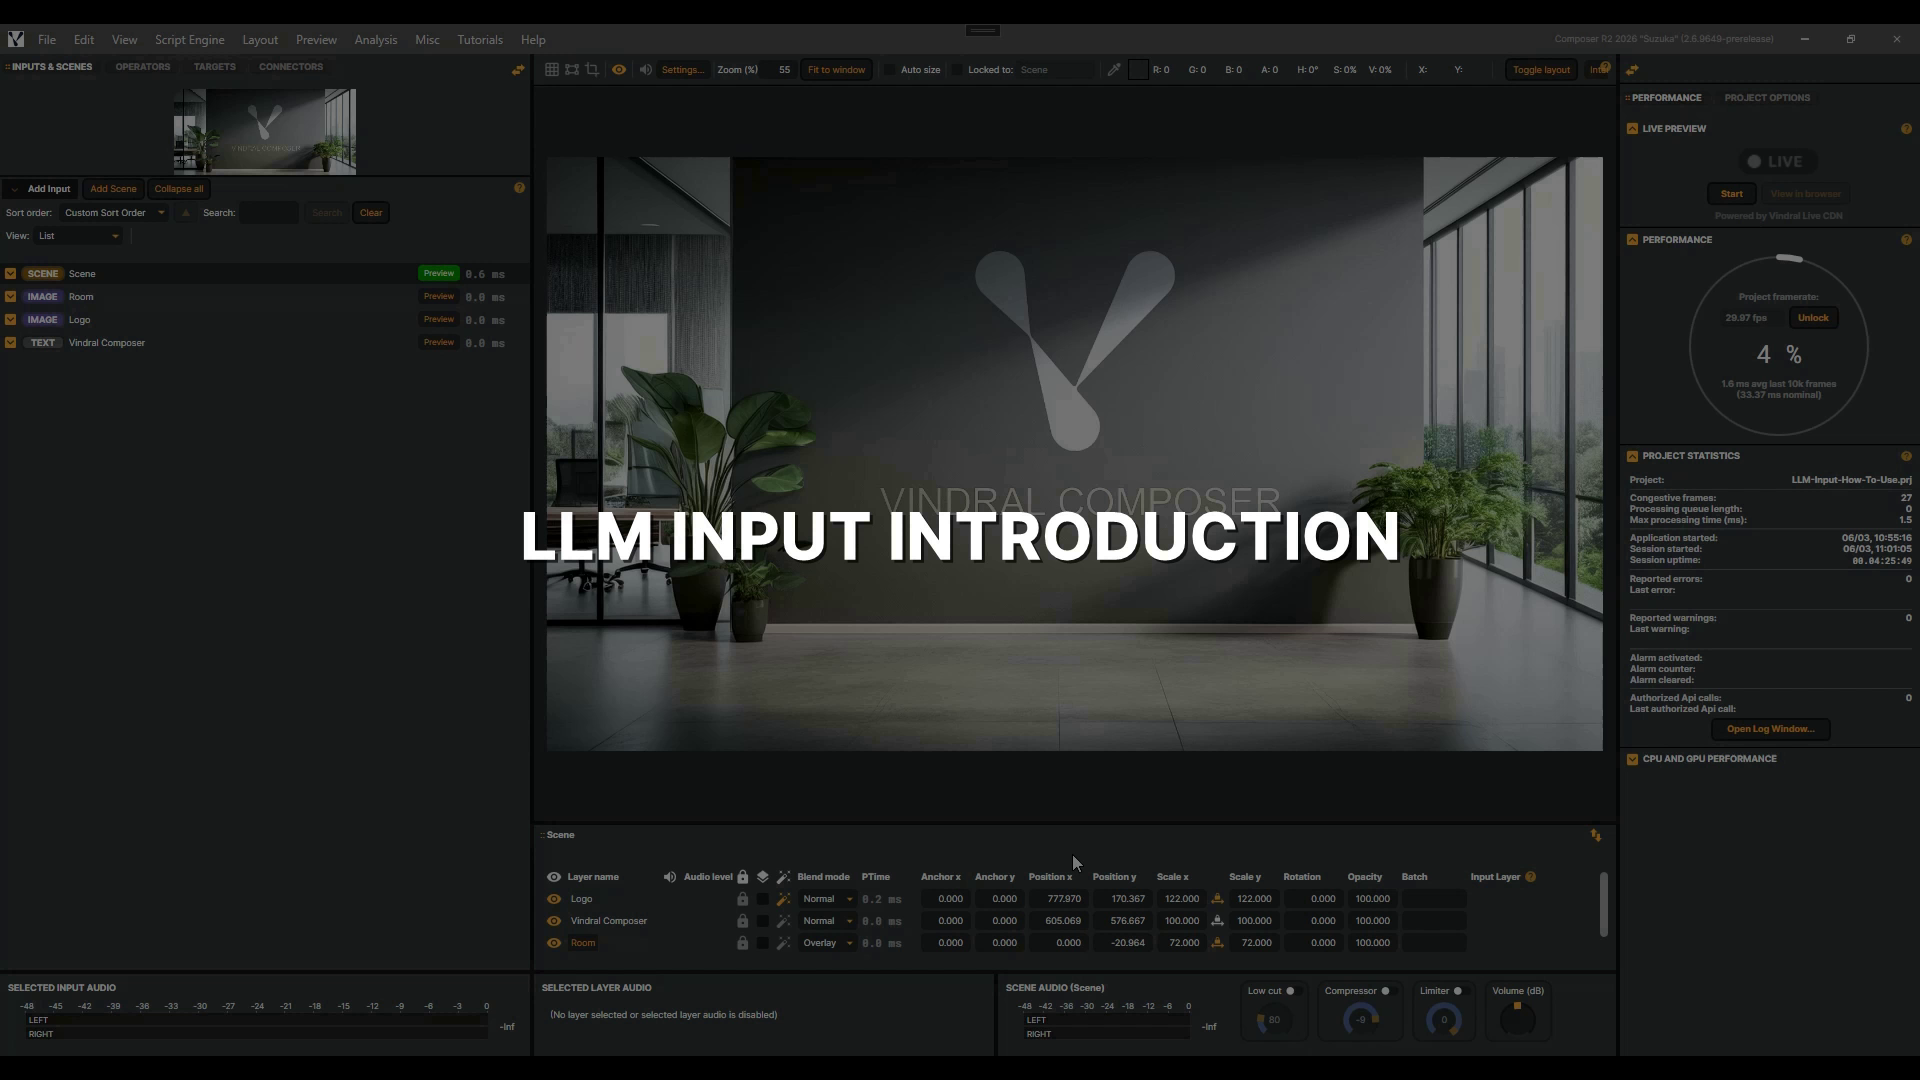 |
LLM Input | In this tutorial you'll connect Composer's LLM Input to a local Ollama server, send prompts, and use the System Prompt to shape the model into an announcer, ticker writer, or broadcast translator. 5 min 36 sec |
 |
LLM Input - Displaying Text On Screen | Building on the LLM Input Introduction tutorial — watch that first if you haven't — you'll learn how to display an LLM Input's live responses on screen using a Text input bound to its Last Response. 2 min 59 sec |
Layers
| Video | About | |
|---|---|---|
 |
Layers basics | In this tutorial, you'll get hands-on with layers — the core building blocks of a scene in Composer — exploring visibility, audio, blend modes, transform properties, and opacity across a mix of image, video, and audio layers. 4 min 38 sec |
Misc
| Video | About | |
|---|---|---|
 |
Multibrand chroma keyer setup | In this tutorial, you'll see how a single keyed scene can feed multiple branding scenes, using the rgb straight blend mode and Alpha Channel Coring to clean up edges so the composite holds across both light and dark backgrounds. 1 min 46 sec |
 |
Script Engine Introduction | In this tutorial, you'll write your very first Composer script using the Script Engine — a JavaScript runtime that runs alongside your render — and watch it drive a live frame counter on screen. And be sure to read the Composer documentation — it covers everything you need to know, from every component and its properties to the full set of Script Engine helper functions. Let's get started! 3 min 45 sec |
 |
Video quality improvement | In this tutorial, you'll explore some easy wins for visual quality using Composer's Vibrance, Sharpen, and Vignette operators — quick finishing touches that can lift colour, crispness, and focus without leaving the software. 1 min 40 sec |
Operators
| Video | About | |
|---|---|---|
 |
Composite Layers | In this quick tutorial you'll apply a Vignette effect across a whole scene using a Composite layer, seeing how it differs from adding an operator to a single layer. 1 min 23 sec |
 |
Crystal Speech - Getting Started | In this tutorial, you'll learn how to use Crystal Speech, Composer's AI noise remover, to strip background noise from a live audio stream and let the voice shine through, whether you're capturing a reporter on a busy street or a presenter in a noisy studio. You'll learn how to control how much background noise is removed with the Level slider, flip the effect on and off with Bypass to hear the difference for yourself, and bring in a Video Delay to keep picture and sound perfectly in sync. Let's dive in. 2 min 58 sec |
 |
De-Esser | In this tutorial you'll meet the De-Esser, Composer's tool for taming sibilance — the sharp S sounds, and the other hard, hissy consonants that turn a voice harsh. A bright microphone can easily tip those moments over the edge. We'll take a real talk, use the Listen switch to hear exactly what we're targeting, then set how hard the de-esser works while the gain-reduction meter keeps us honest. By the end, a sharp voice will sound comfortable — without losing any of its clarity. Let's dive in. 3 min 56 sec |
 |
HSV Keyer - Introduction | The HSV Keyer turns any colour you choose transparent, so whatever is behind the layer shows through. That is how a presenter in front of a coloured screen can be placed anywhere. In this video we use a green screen, and key a roulette dealer into a new background. We pick the key colour, check the result, and clean the green off her hair. Then a garbage matte fixes what colour alone cannot, a light stand at the edge of the frame and a glossy wheel that reflects the green screen. 5 min 41 sec |
 |
Object Detection - Filtering Objects | In this video, you'll learn how to use the Object Detection operator's class filtering controls to narrow a busy multi-class feed down to only the objects that matter to your production — filtering by ID, by name, and even by wildcard. This is a follow-up to the Object Detection introduction, so make sure you've watched that first. Let's dive into it! 2 min 27 sec |
 |
Object Detection - Resize Mode & Detection Area | In this video, you'll learn how the Object Detection operator's Resize Mode and Detection Area settings control what your model actually sees — and how to use them to focus detection exactly where it matters. This is a follow-up to the Object Detection introduction, so make sure you've watched that first and have an Object Detection operator added with a YOLO model selected. 2 min 54 sec |
 |
Object Detection operator | In this introduction, you'll add an Object Detection operator, load a YOLO model, and explore its visualization and confidence controls. Note that it requires the NVIDIA CUDA Toolkit and cuDNN — see the documentation to set it up. Let's get started! 4 min 37 sec |
 |
Operator basics | In this tutorial, you'll learn how operators work in Composer — adding a Gaussian Blur and a Color Adjust operator to a layer, adjusting their settings, working with presets, and toggling them on and off. 3 min 52 sec |
 |
QR Code Operator | In this tutorial, you'll learn how to add the QR Code operator to your broadcast layer, set its payload, size and position it on screen, and reveal or hide it on cue — turning any live show into an instant gateway to links, offers, or updates. 2 min 35 sec |
 |
Speech To Text (Nemotron) | The Nemotron speech-to-text operator writes live captions while the speaker is still talking. It runs NVIDIA's speech model on your own GPU, so no audio ever leaves the machine. In this video we add it to an interview, load the model, and watch the captions roll up as the interview plays. Then we tune how quickly they follow the speech and where sentences end, and change how they move on screen. Let's get started. 6 min 56 sec |
 |
Stereo Imager | In this tutorial you'll meet the Stereo Imager, Composer's tool for setting how wide your mix feels — from collapsed to a point in the centre out to wider than the speakers. It reshapes the difference between your left and right channels, so it needs genuinely stereo material: a mono source, or a single centred voice, has no width for it to change. We'll open up a proper stereo mix and use the Correlation meter to keep it sounding right for everyone listening in mono. Let's dive in. 4 min 17 sec |
Scenes
| Video | About | |
|---|---|---|
 |
Layer masking in a scene | In this tutorial, you'll learn how to use a static image mask with layers in Composer to create branded areas in an igaming roulette scene. 1 min 23 sec |
 |
Scenes basics | In this tutorial, you'll learn how Scenes work in Composer — how to build them by stacking layers, and how a finished scene can itself become an input inside another scene. 4 min 49 sec |
Targets
| Video | About | |
|---|---|---|
 |
Targets basics | In this video, you'll discover Targets — the part of Composer that sends your finished scene out into the world. A target takes everything you've built in a scene — the final picture and sound, with all its layers and operators combined — and delivers it to a destination: saved to a file on disk, streamed live, sent across your network, or out to broadcast hardware. You can even run several at once, sending the same scene to different places. You'll see how it all works by adding a File Recorder Target and an NDI Target, then starting, stopping, and organising your outputs. 4 min 4 sec |
Tips and tricks
| Video | About | |
|---|---|---|
 |
Camera Switching (Method 1) - Layer Visibility | Every live production has to cut from one camera to another, and the easiest way in Composer is toggling layer visibility. Here, each camera lives in its own scene with its graphics, and a program scene holds them both. We build one Connector per camera, then trigger the switch from outside Composer. This video is part of a short series on camera switching. If you haven't used Connectors before, be sure to watch the Connectors Introduction video first to learn how to set them up. 4 min 17 sec |
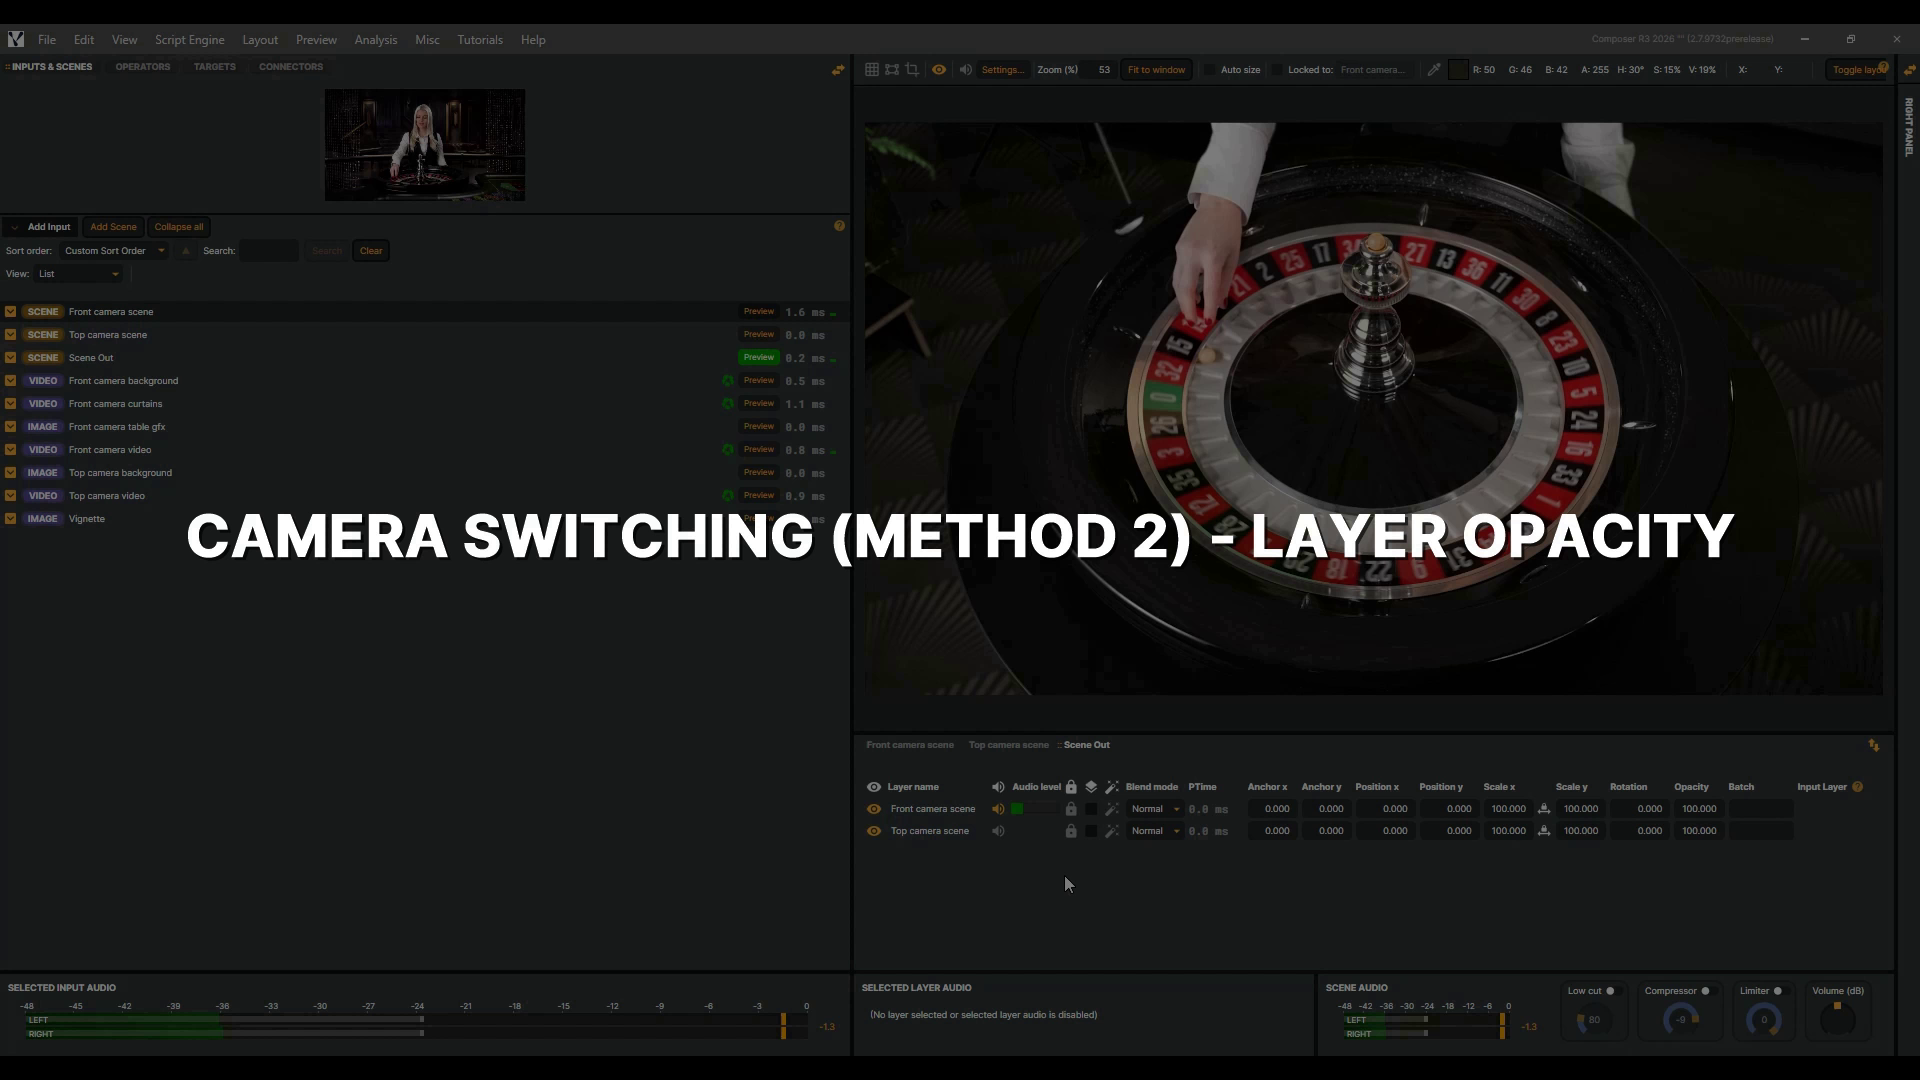 |
Camera Switching (Method 2) - Layer Opacity | Sometimes a hard cut is too abrupt, and one camera should melt into the other. In Composer, that fade is a single property: layer opacity. Here, each camera lives in its own scene with its graphics, and a program scene holds them both. We build one Connector per camera, add an animation time, and trigger the fade from outside Composer. This video is part of a short series on camera switching. If you haven't used Connectors before, watch the Connectors Introduction video first. 5 min 6 sec |
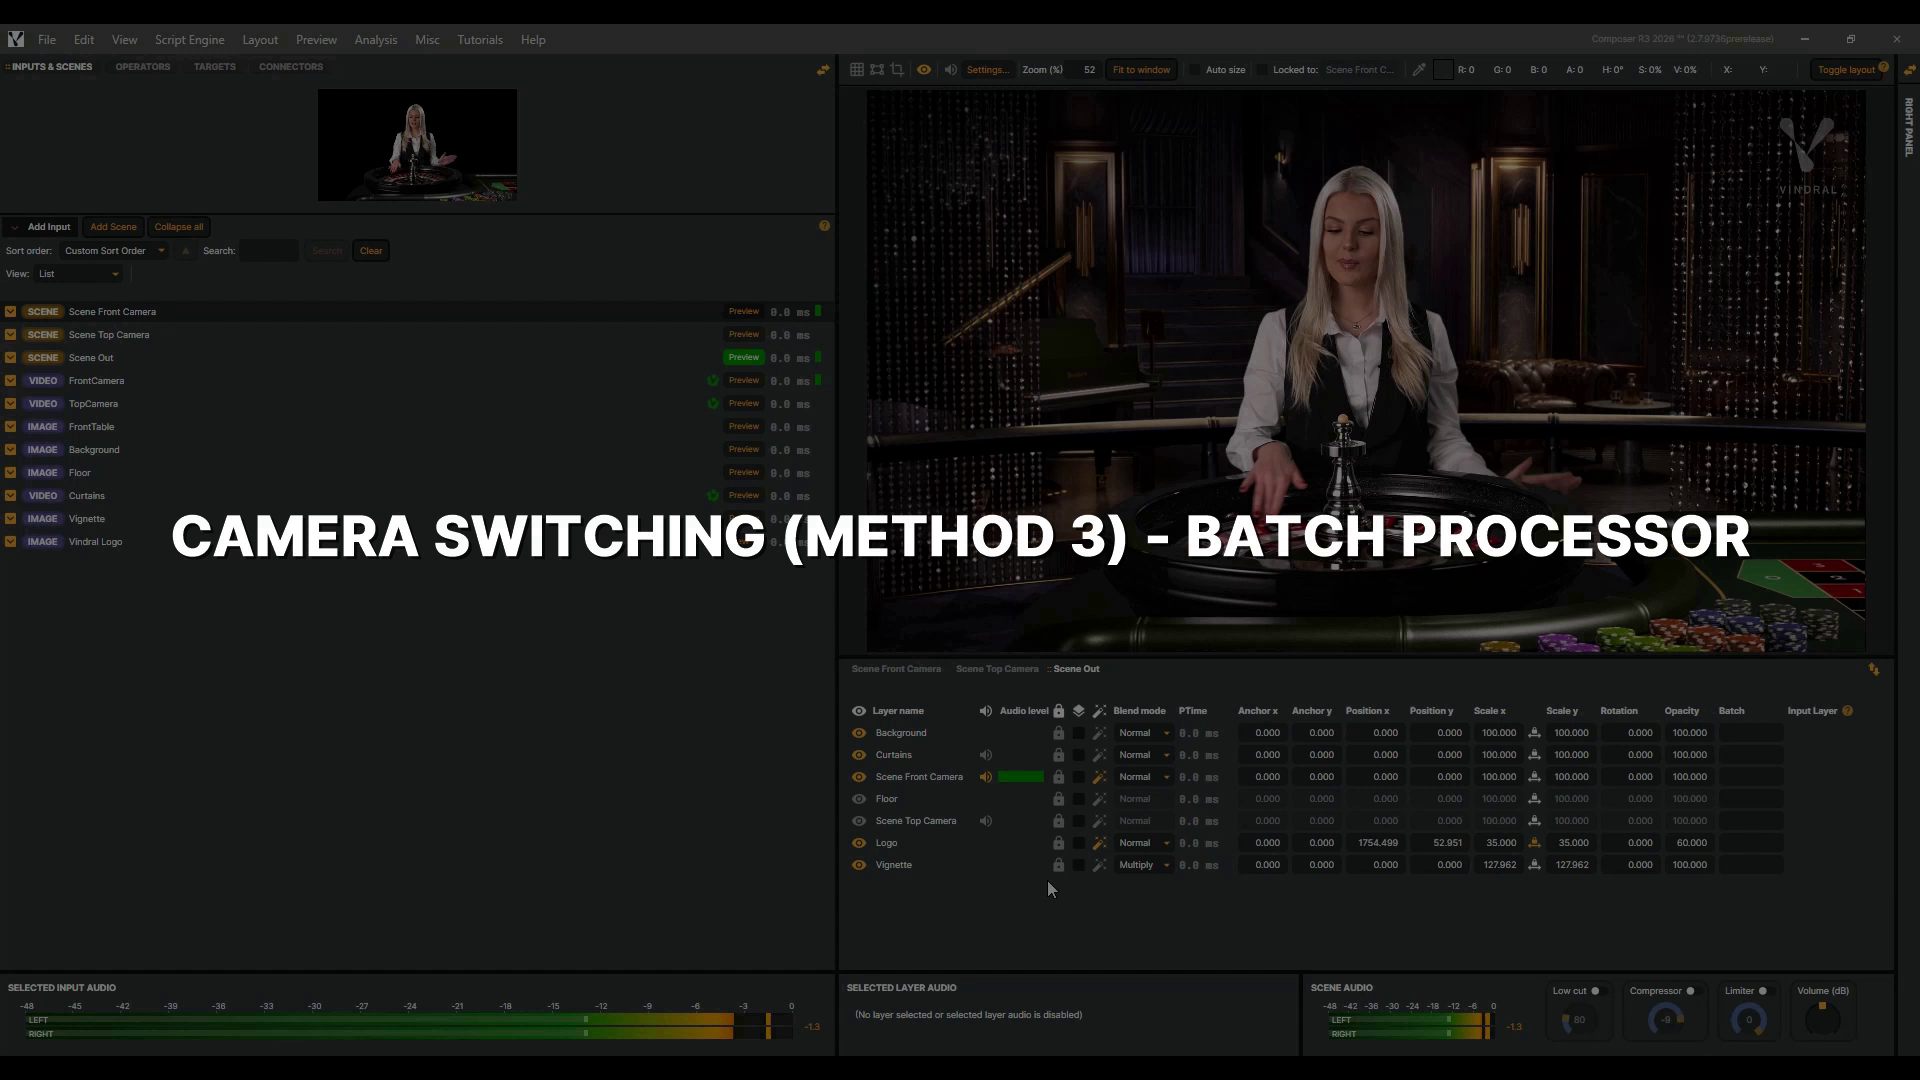 |
Camera Switching (Method 3) - Batch Processor | A camera is rarely just one layer. It usually brings its own background and graphics, and all of them have to change together. In Composer, any layer in any scene can carry a Batch name, and layers sharing one name switch together. We name the groups, switch between them with the Batch Processor, then trigger a switch from outside Composer with one connector. This video is part of a short series on camera switching. New to the Batch Processor? Watch its introduction video first. 6 min 55 sec |
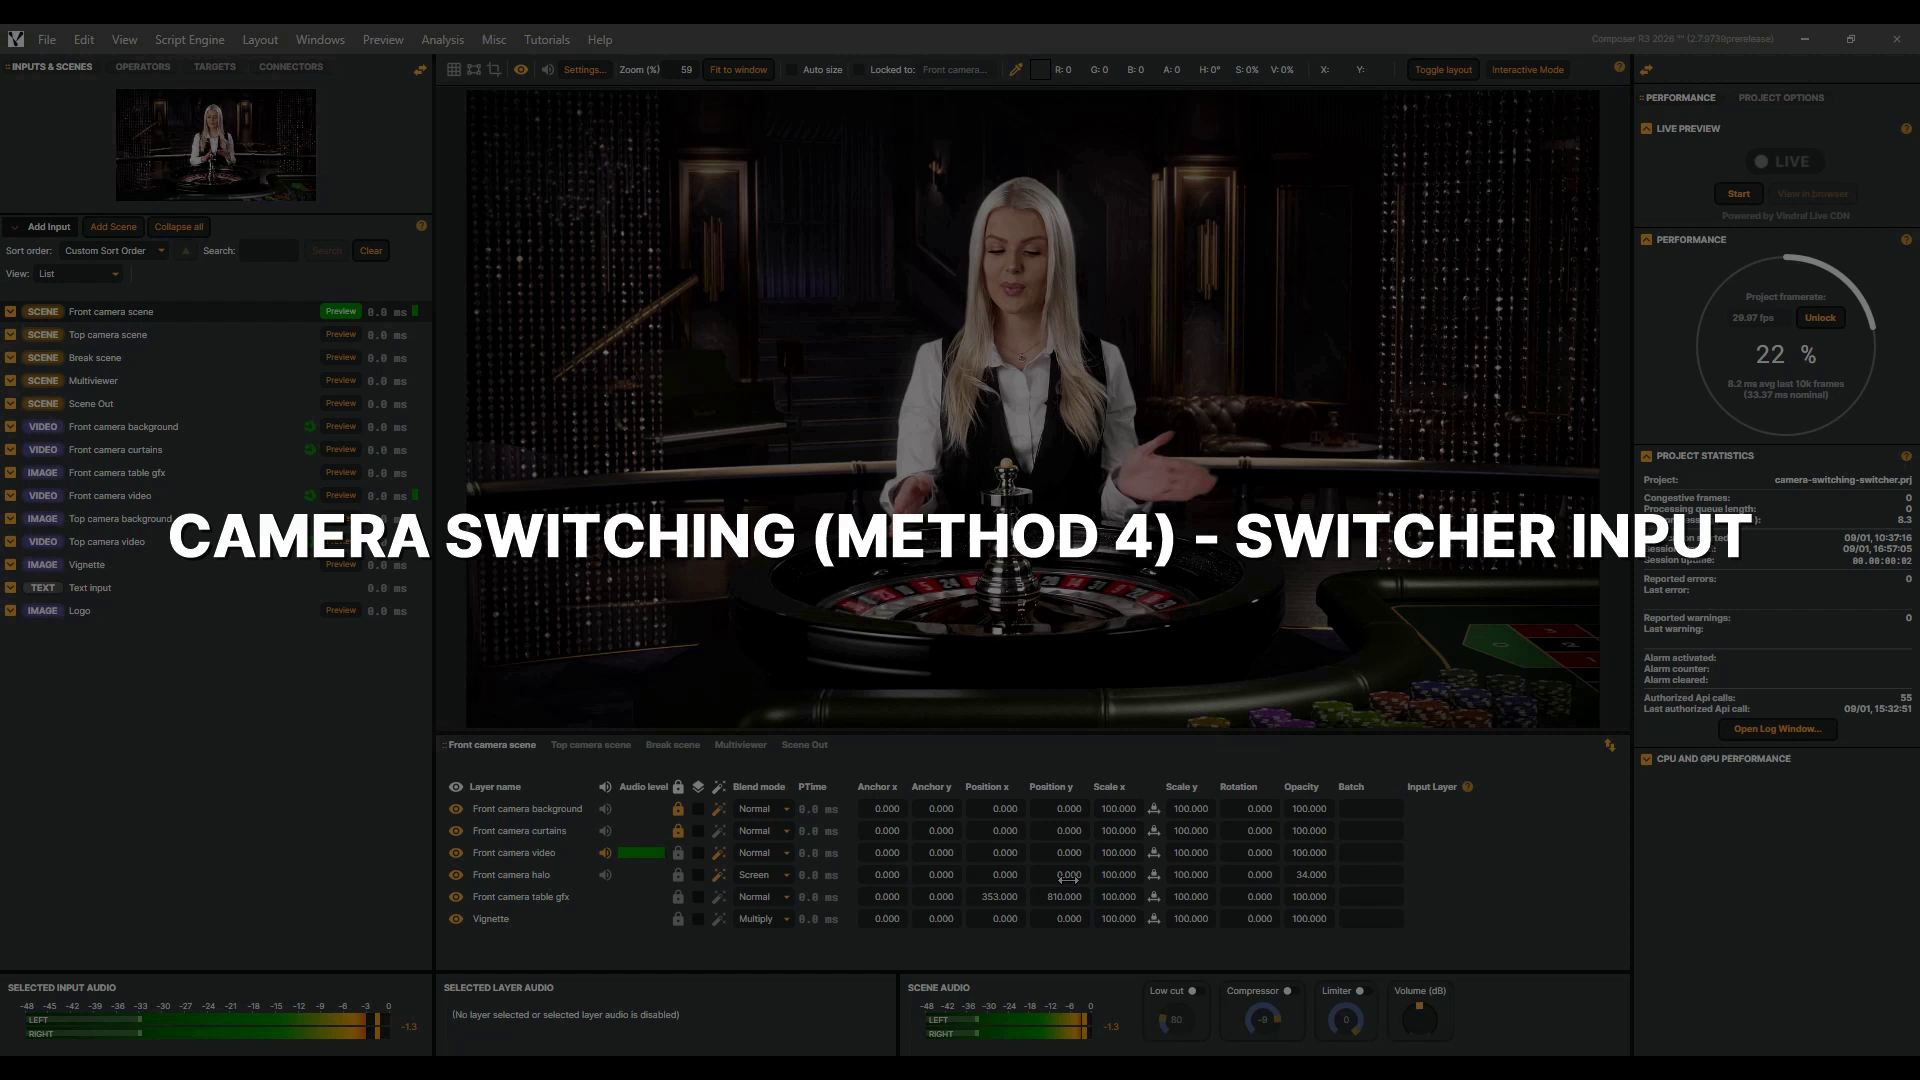 |
Camera Switching (Method 4) - Switcher Input | Switching cameras is such a common job that Composer ships a component built just for it. The Switcher is a virtual input that works like a small video mixer, and in this video we build it the way a real production would. Two cameras and a break slate as sources, a program scene for your viewers, and the Switcher's own multiviewer for the control room. We set it all up from scratch, switch with a single button, and drive it from outside Composer through the Switcher's own API. This video is part of a short series on camera switching. 7 min 11 sec |
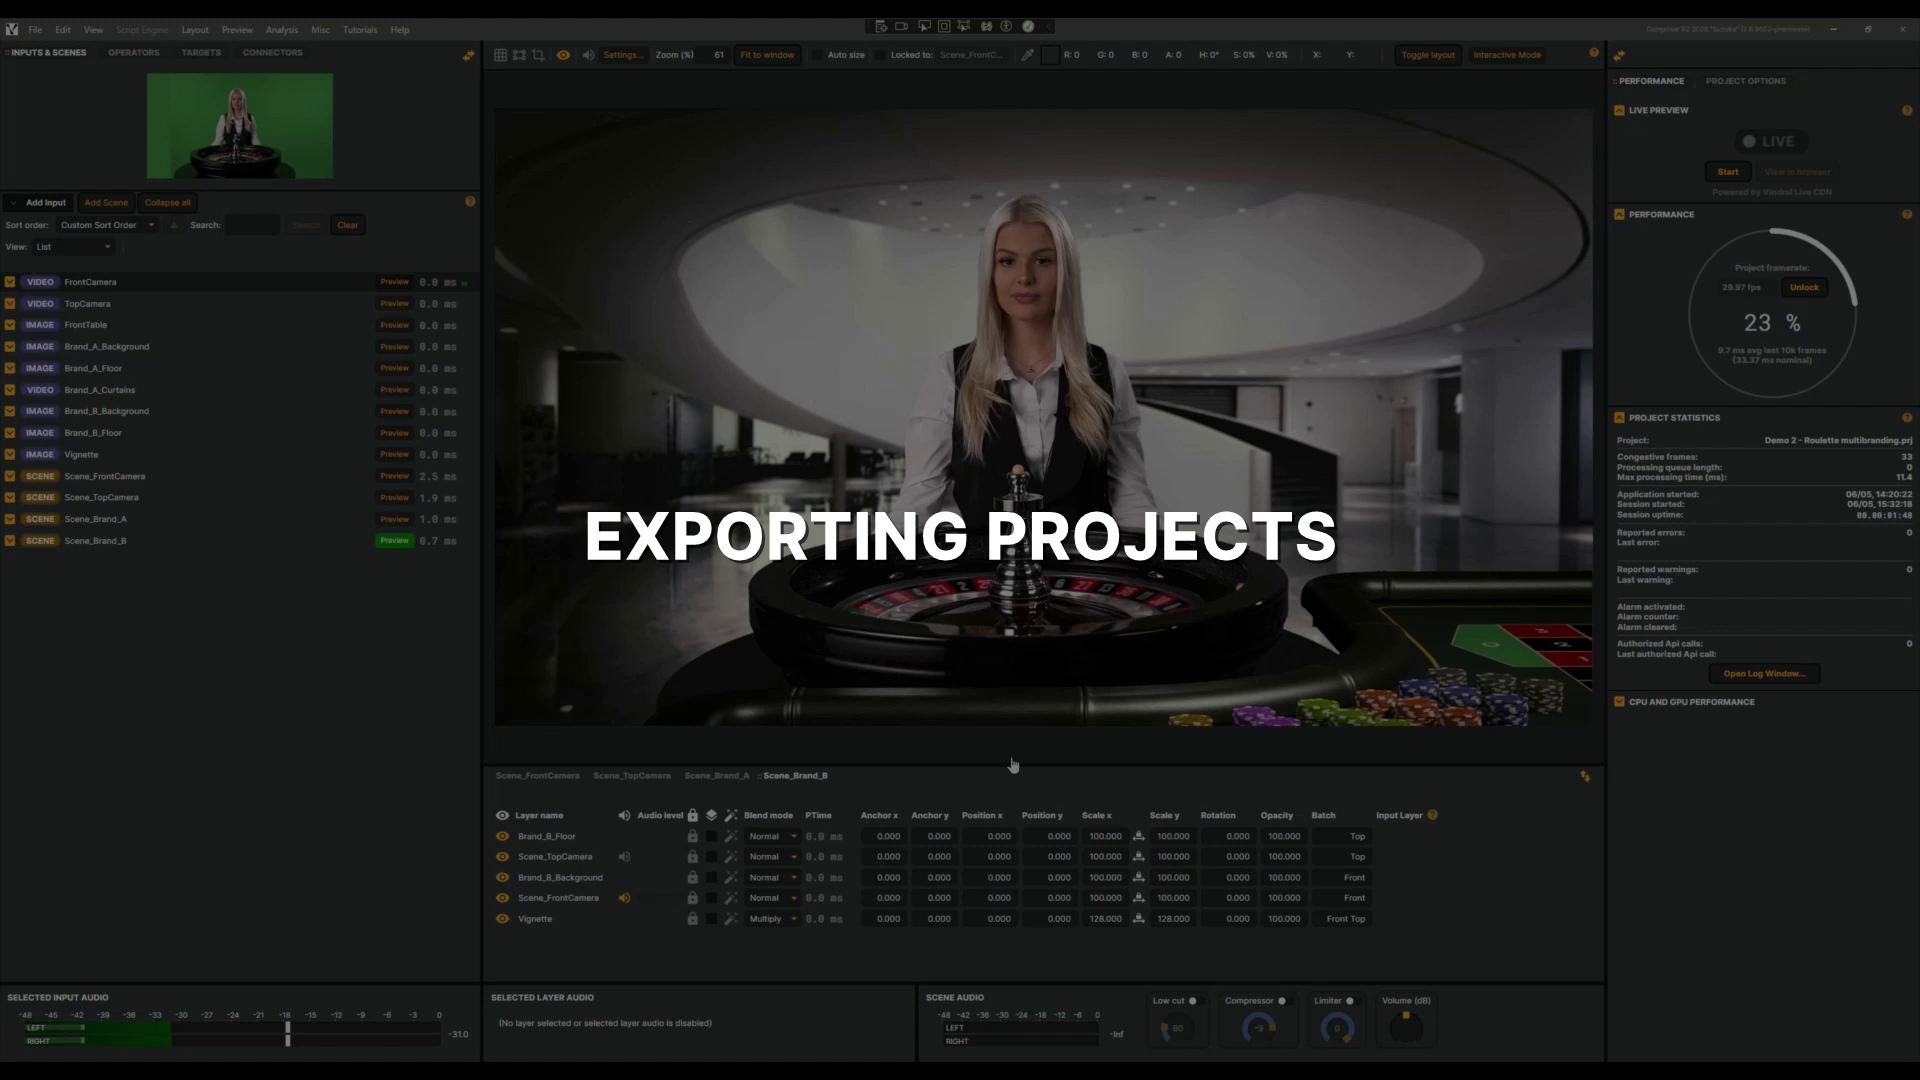 |
Exporting projects | In this tutorial, you'll learn how to export your Composer project and all its assets — images and videos — into a single folder, making it easy to back up or move to another server. 50 sec |
User interface
| Video | About | |
|---|---|---|
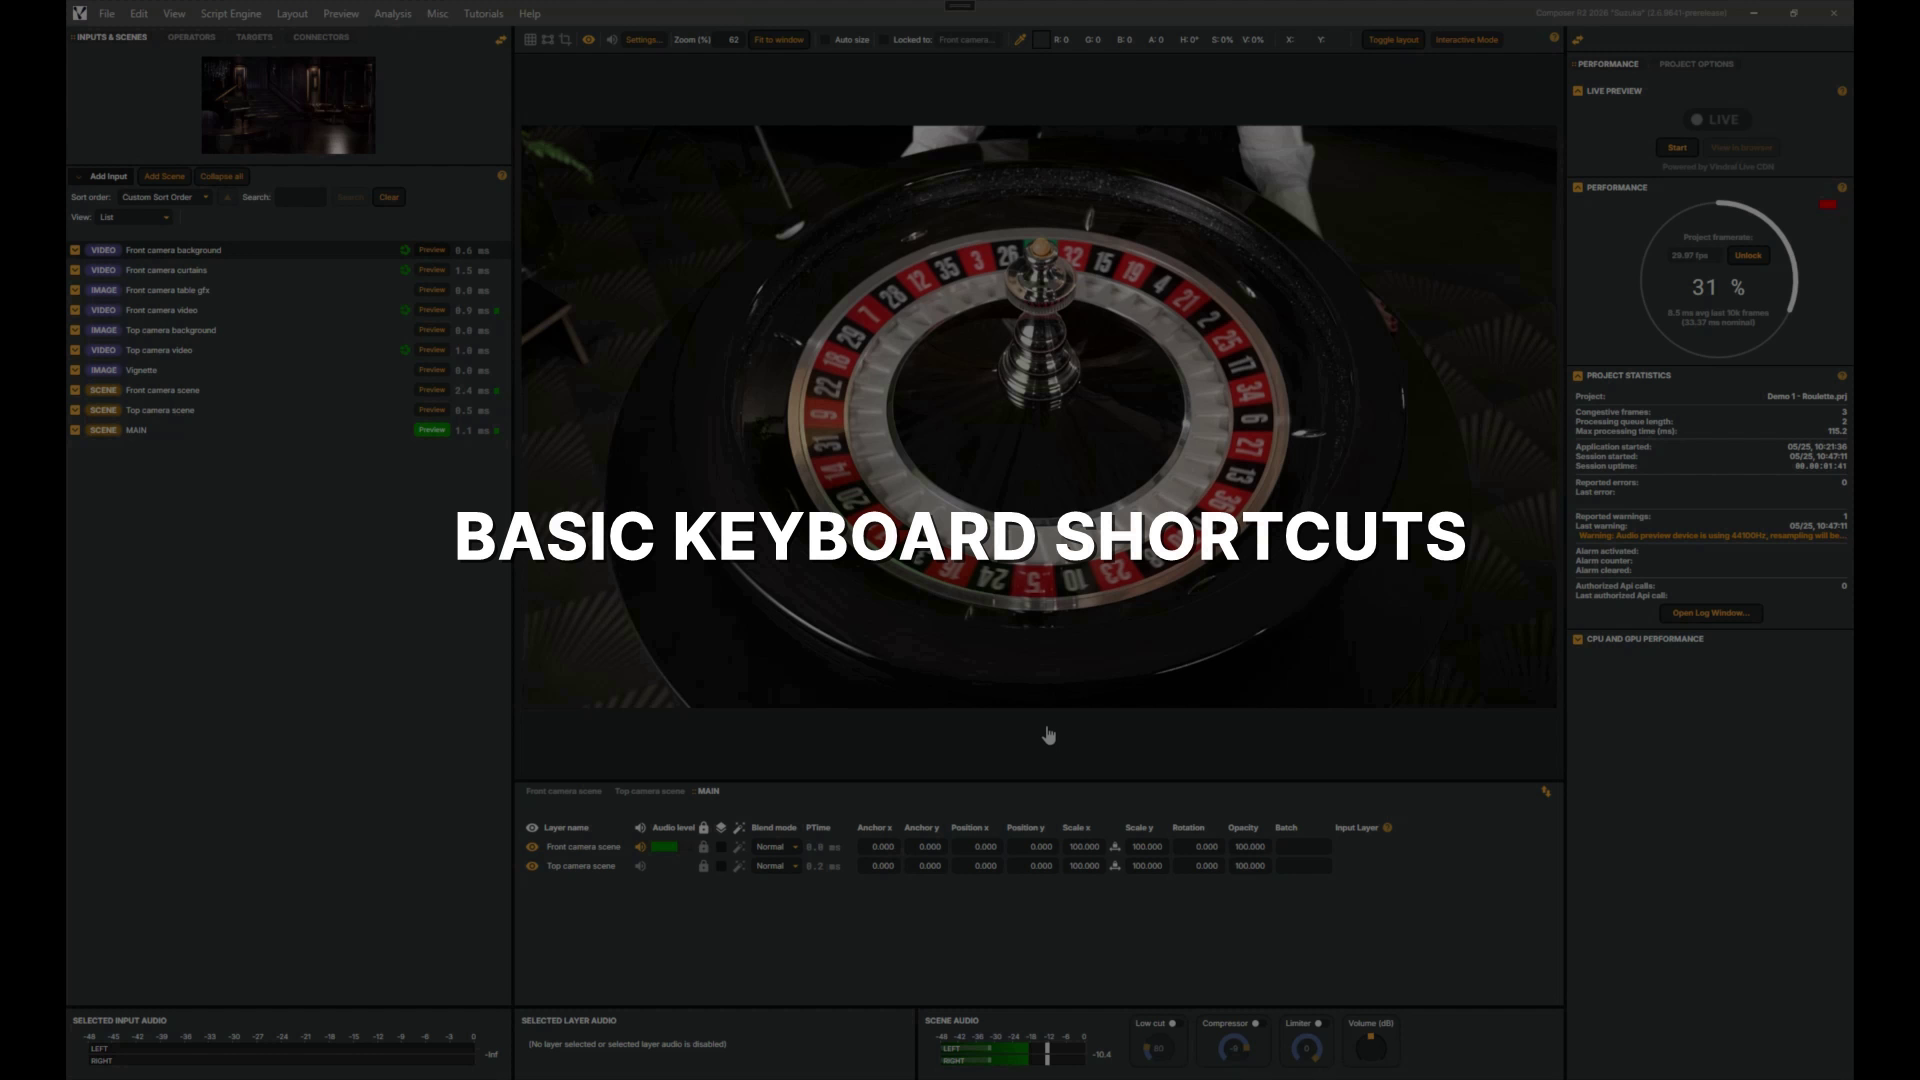 |
Basic keyboard shortcuts | In this tutorial, you'll learn a handful of keyboard shortcuts that let you pause, resume, zoom, and fit the view while working with media in Composer — saving time over reaching for the mouse. 49 sec |
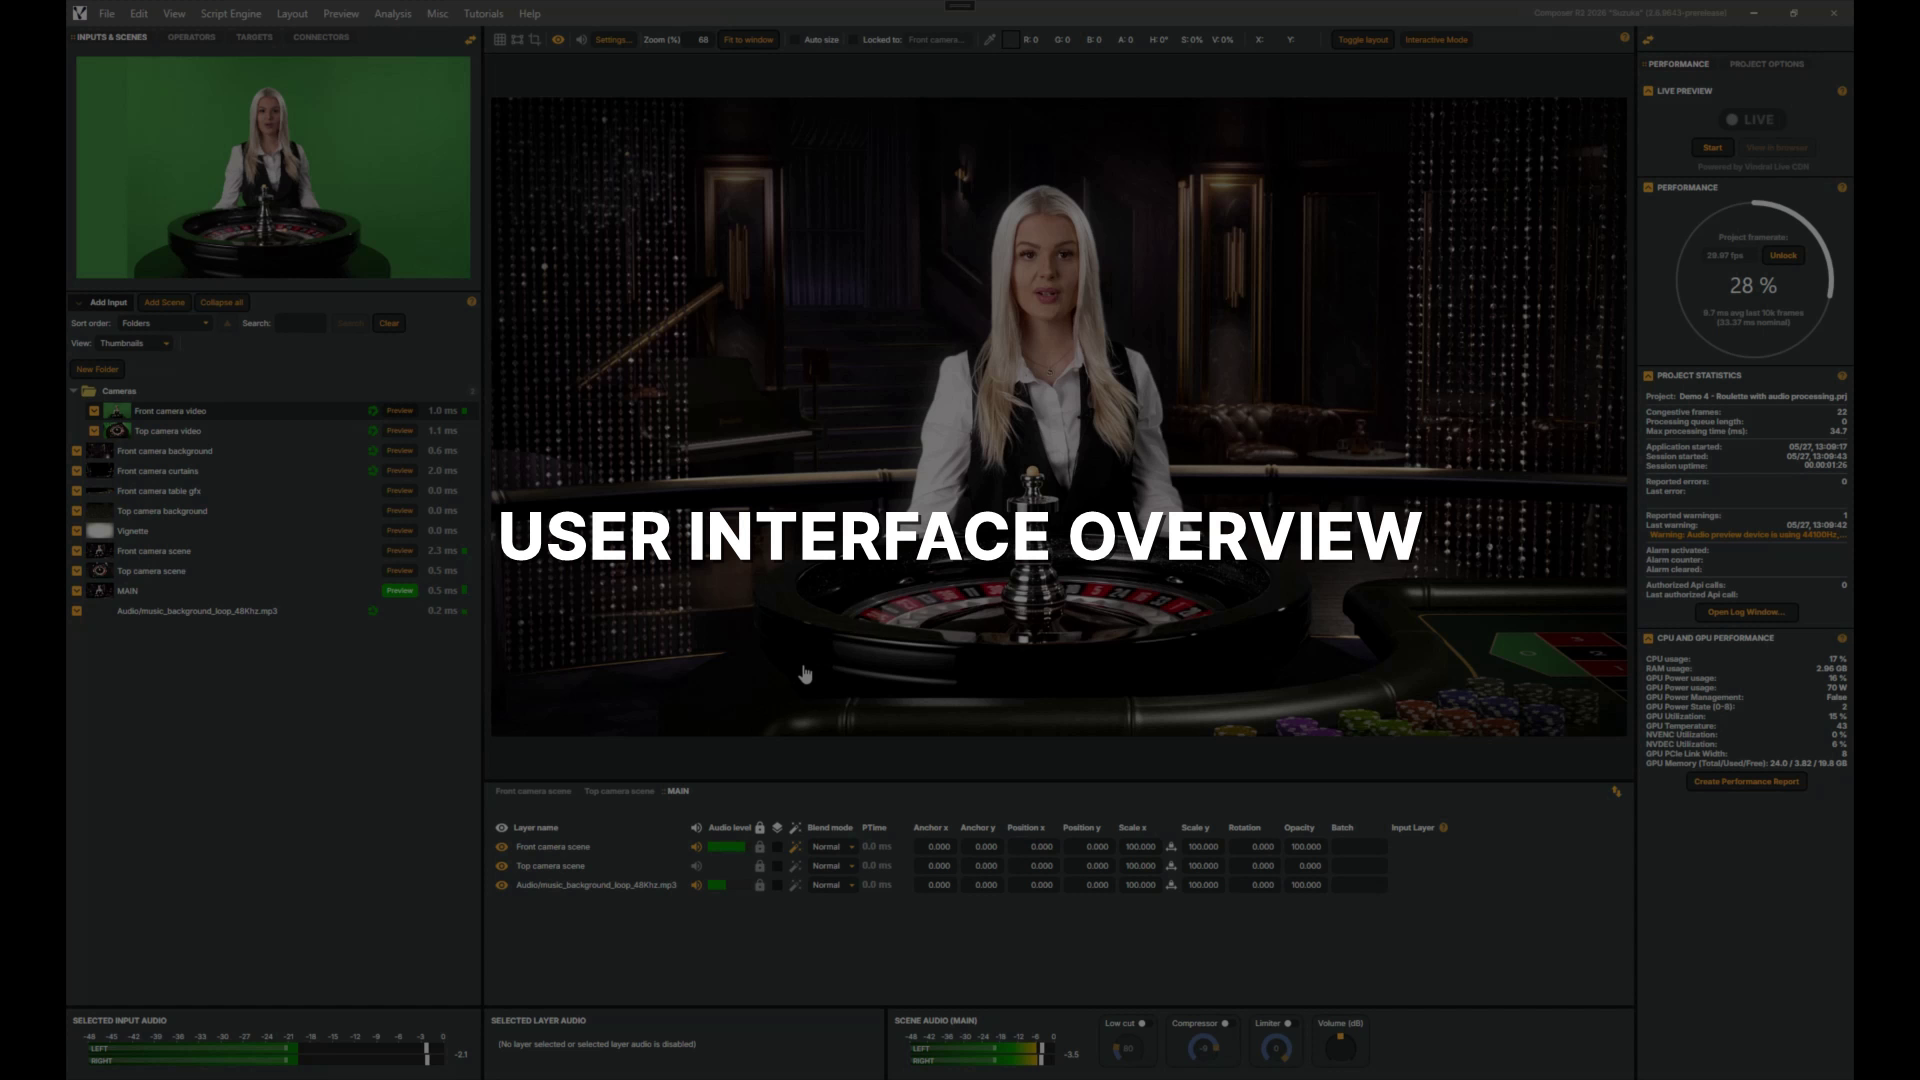 |
User interface overview | Welcome — in this quick tour you'll get a high-level look at Composer's user interface, including where to find tools like the Audio mixer in the Layout menu. 1 min 58 sec |
More ways to learn
Prefer to learn by doing? The Tutorials manual lists downloadable example projects you can open in Composer Desktop and pick apart. For step-by-step written guides, start with the User Guide.